

This manual provides comprehensive guidance for maintaining and repairing Briggs & Stratton single-cylinder OHV engines, covering essential procedures, troubleshooting, and safety practices for optimal engine performance․
1․1 Overview of the Manual and Its Importance
The Briggs & Stratton Single Cylinder OHV Repair Manual is a comprehensive guide designed to assist technicians and service personnel in maintaining and repairing single-cylinder overhead valve engines․ It covers essential procedures, troubleshooting, and safety practices, making it an indispensable resource for ensuring optimal engine performance and longevity; The manual is structured to provide clear, step-by-step instructions, enabling users to diagnose and resolve issues efficiently․ Its detailed content ensures that professionals can perform repairs confidently, adhering to manufacturer standards and best practices․
1․2 Target Audience and Applicability
This repair manual is primarily designed for small engine technicians, service professionals, and DIY enthusiasts working with Briggs & Stratton single-cylinder OHV engines․ It is applicable to various engine models, including the 276781, 272144, and 273521, ensuring comprehensive coverage for different applications․ The manual is particularly useful for those involved in lawn and garden equipment maintenance, as well as for individuals looking to repair or service their own engines․ Its detailed instructions cater to both experienced technicians and novice users, making it a versatile resource for engine repair and maintenance․
Engine Specifications and Identification
This section details the key specifications of Briggs & Stratton single-cylinder OHV engines, including model numbers like 276781 and 272144, to aid in accurate engine identification and servicing․
2․1 Key Features of the Single Cylinder OHV Engine
The Briggs & Stratton single-cylinder OHV engine is renowned for its simplicity, durability, and efficiency․ Designed with an overhead valve configuration, it offers improved airflow and combustion efficiency compared to traditional side-valve engines․ These engines are air-cooled, reducing complexity and maintenance needs․ They feature a compact design, making them ideal for small equipment like lawn mowers and generators․ The OHV technology enhances fuel efficiency and reduces emissions, ensuring reliable performance in various applications․ Model numbers like 276781 and 272144 are widely documented in repair manuals for easy identification and servicing․
2․2 How to Identify Your Engine Model
Identifying your Briggs & Stratton single-cylinder OHV engine model is crucial for accurate repairs․ The model number is typically located on a label or engraved on the engine․ Common models include 276781, 272144, and 272147, each with distinct features․ Refer to the manual or manufacturer’s website to cross-reference your engine number․ This ensures you access the correct specifications, parts, and procedures for your specific model, avoiding mismatches during servicing or replacement․
Maintenance and Service Procedures
Regular maintenance ensures optimal performance․ Tasks include oil changes, air filter cleaning, and spark plug inspection․ Proper tools and adherence to manual guidelines are essential․
3․1 Regular Maintenance Tasks for Optimal Performance
Regular maintenance is crucial for extending engine life and ensuring reliability․ Key tasks include oil changes, air filter cleaning, and spark plug inspection․ Checking the fuel system for blockages and ensuring proper valve clearance is also essential․ These procedures, outlined in the manual, help prevent issues before they arise․ By following the recommended schedule, technicians can maintain peak performance, reduce wear, and ensure the engine operates efficiently under various conditions․ Proper adherence to these tasks is vital for long-term reliability and optimal functionality․
3․2 Tools and Equipment Required for Servicing
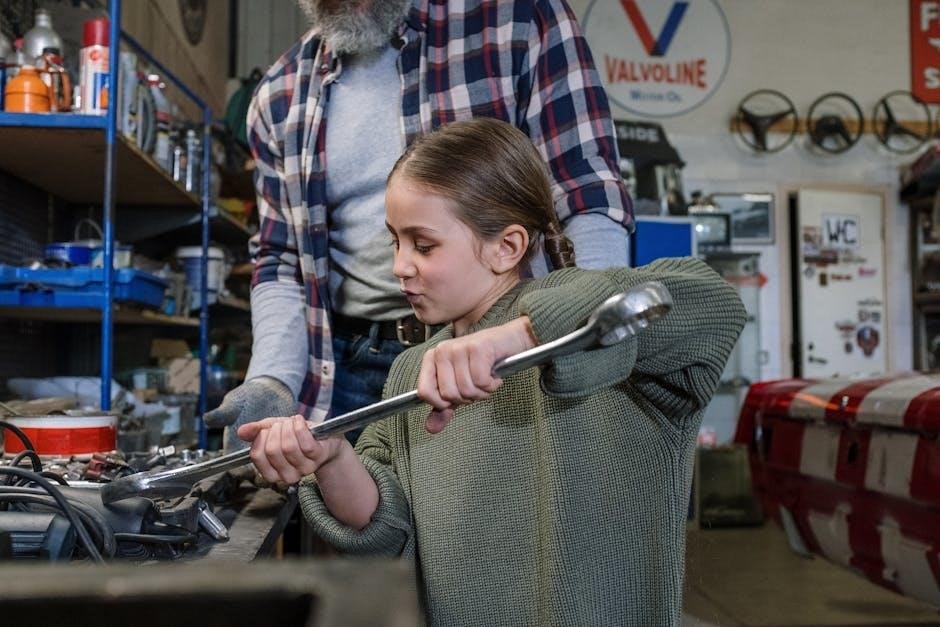
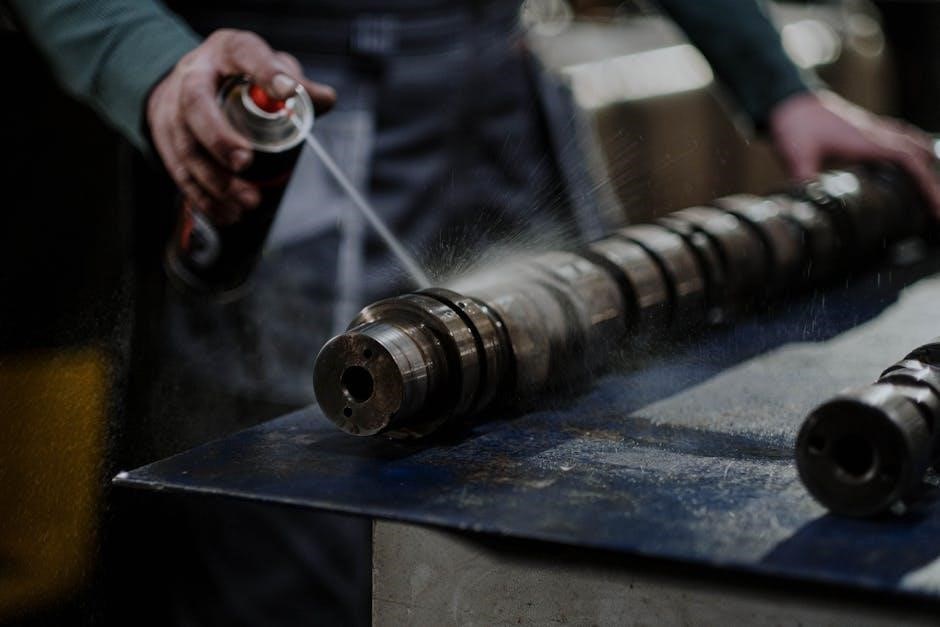
Servicing a Briggs & Stratton single-cylinder OHV engine requires specific tools and equipment․ Essential items include wrenches, screwdrivers, pliers, and torque wrenches․ A compression tester is necessary for diagnosing engine compression issues․ Specialized tools like piston ring compressors and valve spring testers are also needed for advanced repairs․ Safety gear, such as gloves and goggles, should always be used․ Proper tools ensure accurate and efficient servicing, while adhering to safety standards helps prevent injuries and equipment damage during the repair process․

Troubleshooting Common Issues
Identify symptoms, diagnose problems, and apply solutions for common faults like engine seizures or cylinder issues using the manual’s diagnostic steps and repair solutions․
4․1 Diagnosing Engine Problems
The manual outlines a systematic approach to diagnosing engine issues, starting with identifying symptoms like unusual noises, poor performance, or failure to start․ It emphasizes inspecting key components such as the air filter, spark plug, and fuel system for blockages or wear․ Additionally, it provides guidance on checking compression, testing ignition systems, and verifying proper valve operation․ By following these steps, technicians can pinpoint root causes efficiently, ensuring accurate repairs and minimizing downtime․
4․2 Solutions for Frequently Encountered Faults
Common issues include low compression, faulty spark plugs, and oil leaks․ For low compression, inspect the cylinder head gasket and replace if damaged; Spark plug problems can be resolved by cleaning or replacing the plug․ Oil leaks often stem from worn gaskets or seals, which should be replaced promptly․ Always follow the manual’s procedures for disassembly and use genuine Briggs & Stratton parts to ensure reliable repairs and maintain engine performance․
Disassembly and Reassembly Guidelines
Follow the manual’s step-by-step guide for safe and efficient engine disassembly․ Reassembly requires precise alignment and torque specifications to ensure proper function and longevity of the engine․
5․1 Step-by-Step Engine Disassembly Process
Begin by disconnecting the spark plug wire and draining the fuel․ Remove the air filter and carburetor, then take out the cylinder head bolts․ Carefully lift the cylinder head and inspect the piston and cylinder wall․ Next, remove the crankshaft and camshaft, ensuring all components are labeled for reassembly․ Refer to the manual’s torque specifications and diagrams for precise guidance․ Always use proper tools to avoid damage to engine parts during disassembly․
5․2 Reassembling the Engine After Repair
Reassembly begins with installing the crankshaft and camshaft, ensuring correct alignment and torque specifications․ Next, attach the piston and cylinder head, using new gaskets and seals․ Reinstall the valve train components, followed by the timing gear and cover․ Reattach the carburetor and air filter, ensuring all connections are secure․ Refer to the manual’s diagrams for clarity and torque specifications to guarantee proper reassembly and engine functionality․

Safety Precautions and Best Practices
Always wear protective gear and ensure proper ventilation․ Disconnect the spark plug before starting repairs․ Handle hot surfaces with care and use appropriate tools to avoid injuries․ Follow environmental guidelines for disposal of hazardous materials and minimize waste during the repair process․
6․1 Essential Safety Tips for Repair Work
Always wear protective gear including gloves, safety glasses, and a face mask․ Ensure the workspace is well-ventilated to prevent inhaling harmful fumes․ Disconnect the spark plug wire before starting any repair to avoid accidental engine start-up․ Use jack stands for lifting heavy equipment and never work under an unsupported engine․ Keep loose clothing tied back and long hair tied up․ Avoid working near open flames or sparks․ Regularly inspect tools for damage and ensure they are in good working condition․ Follow all safety guidelines provided in the manual to minimize risks and ensure a safe working environment․ Properly dispose of hazardous materials like oil and fuel to protect the environment․ Keep a fire extinguisher nearby and have a first aid kit accessible․ By adhering to these safety tips, you can prevent accidents and ensure a successful repair process․
6․2 Environmental Considerations During Repair
Properly dispose of hazardous materials like oil, fuel, and coolant to prevent environmental contamination․ Use eco-friendly cleaning solutions and recycle parts when possible․ Always follow local regulations for waste disposal․ Avoid draining fluids into storm drains or waterways․ Use biodegradable materials for cleaning rags and minimize chemical usage․ Store chemicals in sealed containers to prevent leaks․ Encourage sustainable practices by repairing rather than replacing parts․ Ensure compliance with environmental laws to protect ecosystems and promote a greener approach to engine repair and maintenance․
After completing repairs, ensure all components function correctly․ Verify proper engine operation, safety, and performance․ Document all repairs for future reference and maintenance planning․
7․1 Verifying Repairs and Testing the Engine
After completing repairs, perform a thorough inspection to ensure all components are correctly installed and functioning․ Test the engine under various loads to verify performance and identify any issues․ Check for proper fuel flow, ignition timing, and compression․ Consult the manual for specific testing procedures to ensure reliability and safety․ Document the results and address any remaining faults before finalizing the repair process․
7․2 Documentation and Record-Keeping
Maintaining detailed records of repairs, maintenance, and testing is crucial for tracking engine history and ensuring compliance with manufacturer guidelines․ Document all serviced parts, repairs, and test results, referencing the engine model number (e․g․, 276781 or 272144)․ Keep a log of service dates, procedures performed, and materials used․ This documentation aids in future diagnostics and ensures accountability․ Provide copies to the equipment owner or technician for transparency․ Proper record-keeping also supports environmental compliance and extends the engine’s lifespan․